Template Setting
Customize your warranty page to match your brand identity.
The Template Setting section lets you manage key elements: Color Theme, Header, and Footer — all configurable from the Settings menu.
This allows you to make your warranty registration page align with your brand’s identity or even match the design of your current website for a consistent, professional appearance that builds customer trust.
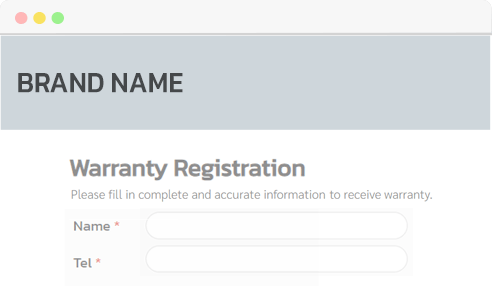
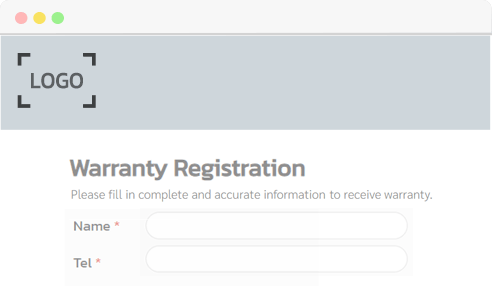
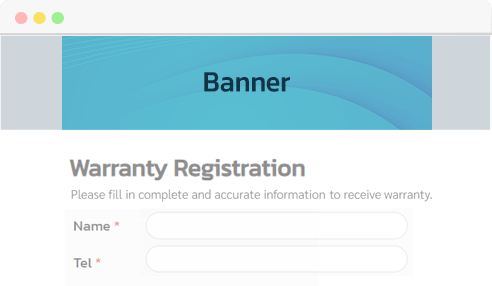
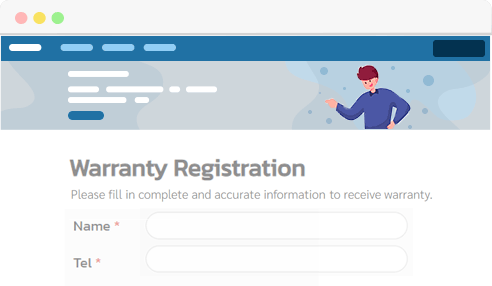
| • Brand name | Enter your shop or company name. It will be displayed on the left side of the header. |
| • Logo | Upload your brand logo, which appears on the left side of the header.
(Recommended size: Max height 80px, Max width 200px)
|
| • Banner image | Add a banner image that appears centered in the header.
(Recommended size: Max height 250px, Width 1030px)
|
| • HTML layout for full flexibility |
Customize your header using HTML for complete layout control. Ensure your design is fully responsive across all screen sizes: mobile, tablet, and desktop. |
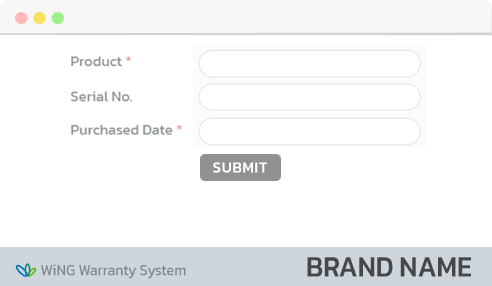
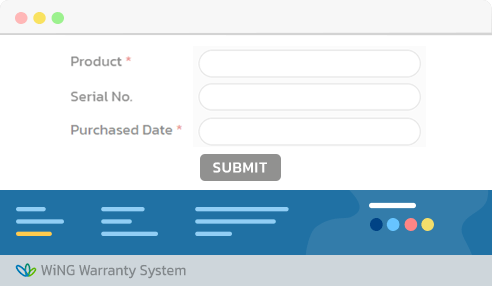
| • Brand name | Enter your company or website name, with an optional hyperlink. It will appear at the bottom right corner of the screen. |
| • HTML layout for full flexibility |
Customize the footer freely using HTML. Ensure your layout is responsive across all screen sizes: mobile, tablet, and desktop. |
| 1. | Home Page: Includes two buttons: “Register” and “Check Warranty Status”. |
| 2. | Registration Page: The main form page, used as the reference for theme customization since all color elements are displayed here. |
| 3. | Check Page: Allows customers to search for their warranty record. |
All design changes you make including colors, header, and footer are applied instantly across all pages. You can also preview your customized layout at any time via the Preview and Publish menu.
Every time you make changes, the system automatically creates a new version. Once you're satisfied with your design, click Publish to make your settings live. But if you discover any issues after publishing, you can easily roll back to a previous version.